Low-cost, versatile composite infill boards
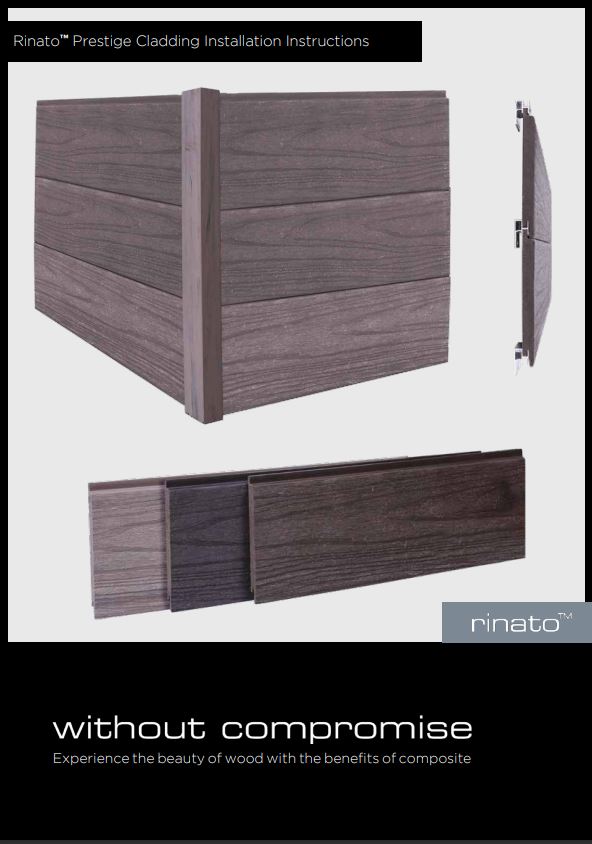
Our WPC cladding boards utilise the same advanced co-extrusion technology as our natural range of deck boards. The cladding looks completely natural, is low maintenance, and is easy to clean (unlike timber cladding). It is important to allow for the expansion and contraction of the boards in different temperatures – we recommend that batons are used to support the cladding every 500mm.
Premium composite cladding from
Ex VAT
Premium composite cladding from
Ex VAT

Select your composite infill boards

Antique
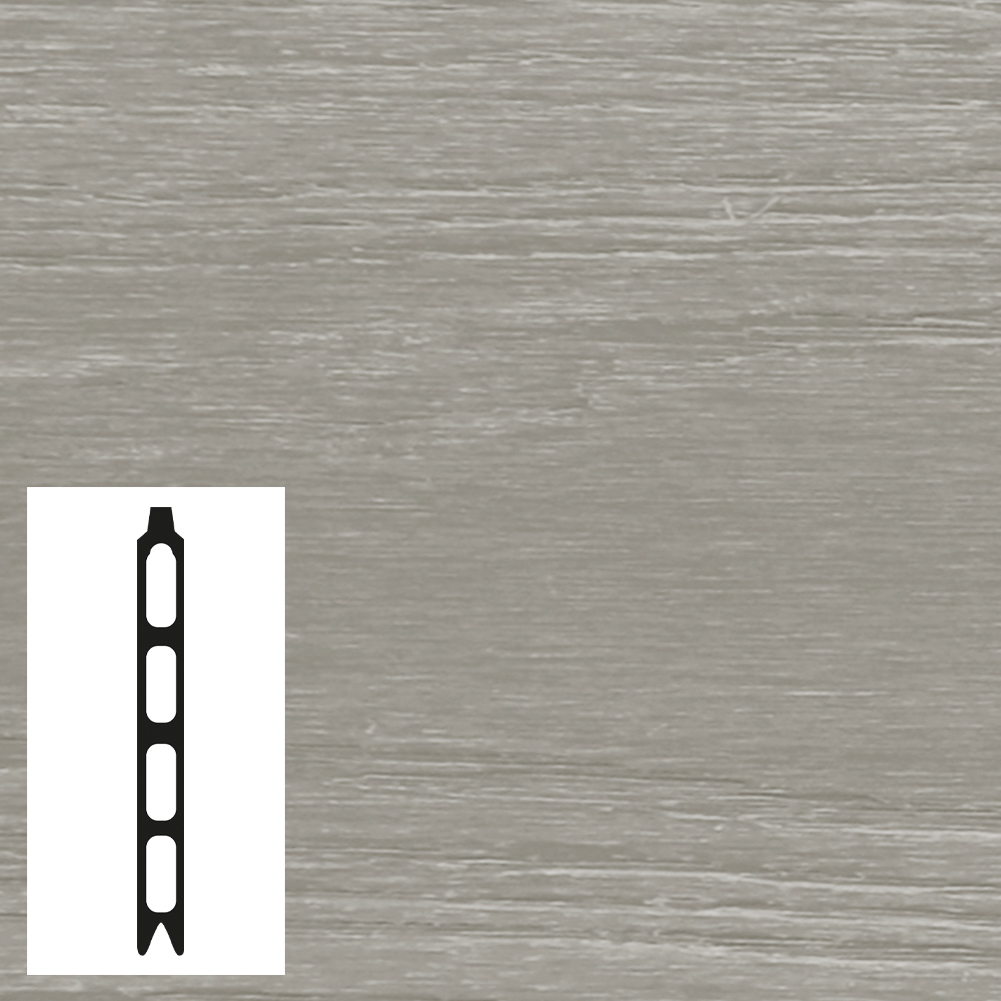
Charcoal
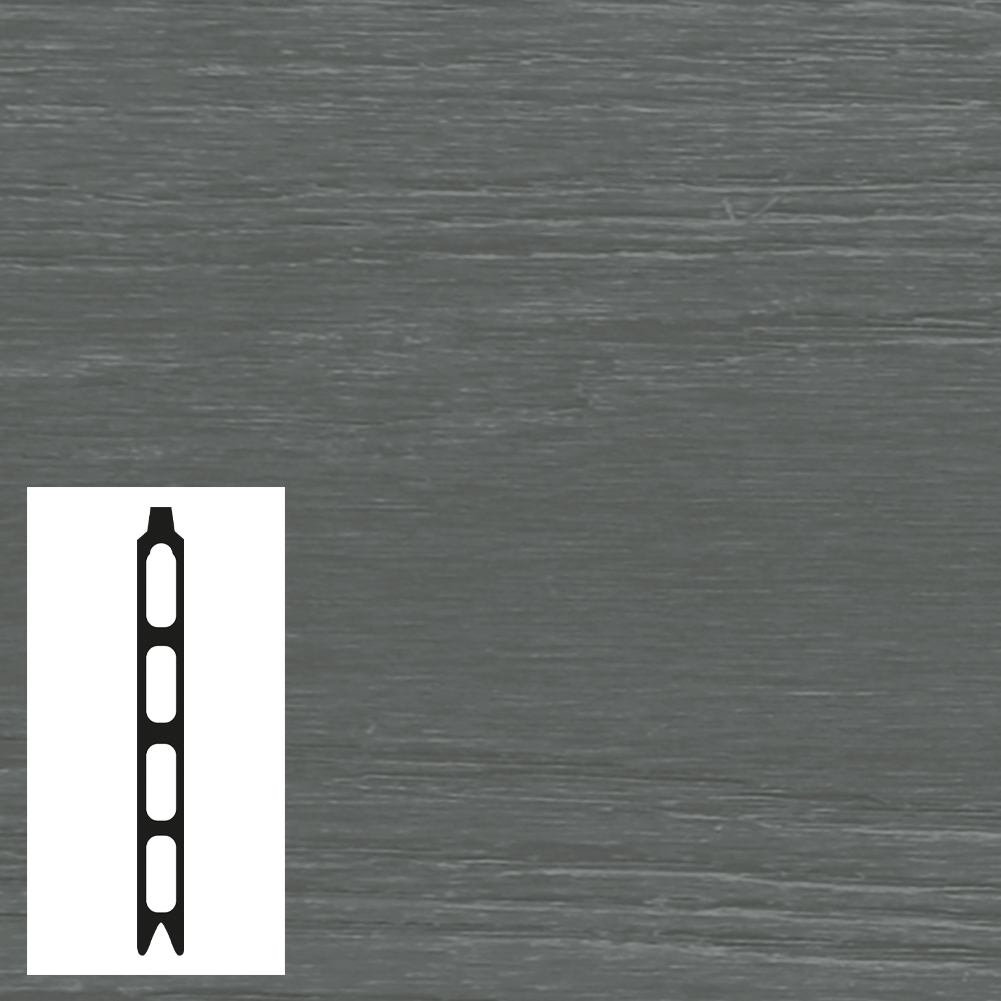
Walnut
Price per 3600mm board
ex VAT
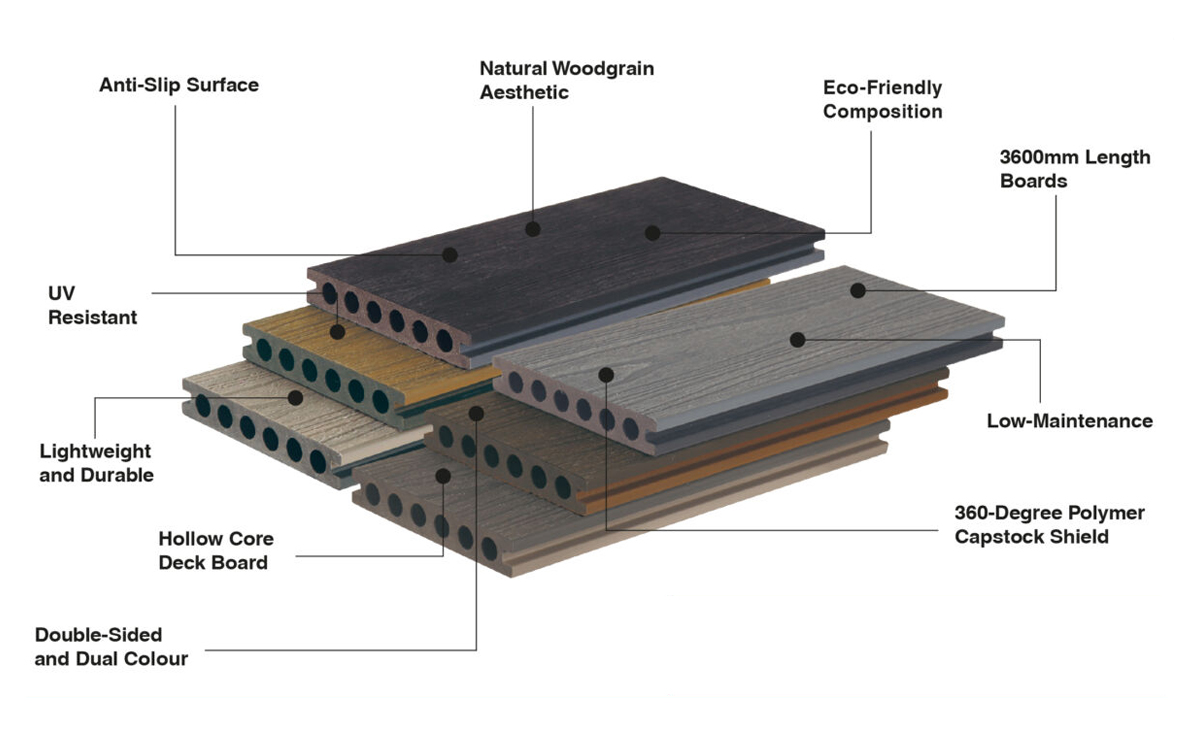
Why choose composite cladding?
Our WPC cladding boards utilise the same advanced co-extrusion technology as our natural range of deck boards. The cladding looks completely natural, is low maintenance, and is easy to clean (unlike timber cladding). It is important to allow for the expansion and contraction of the boards in different temperatures – we recommend that batons are used to support the cladding every 500mm.
Our cladding boards are available in 3 colours: Antique, Charcoal and Walnut, with a contemporary embossed wood effect. Every board is UV resistant, will not fade, and is made from recycled, eco-friendly FSC® certified wood composite. The boards can be installed vertically or horizontally, using our clever hidden fixing system and the range of trims to allow for the system to be installed on any wall.
While composite woods are highly durable it is recommended to follow the guidelines when storing, handling and installing the composite cladding products to ensure their lasting beauty.
Rinato composite cladding system
Our WPC cladding boards utilise the same advanced co-extrusion technology as our natural range of deck boards. The cladding looks completely natural, is low maintenance, and is easy to clean (unlike timber cladding). It is important to allow for the expansion and contraction of the boards in different temperatures – we recommend that batons are used to support the cladding every 500mm.
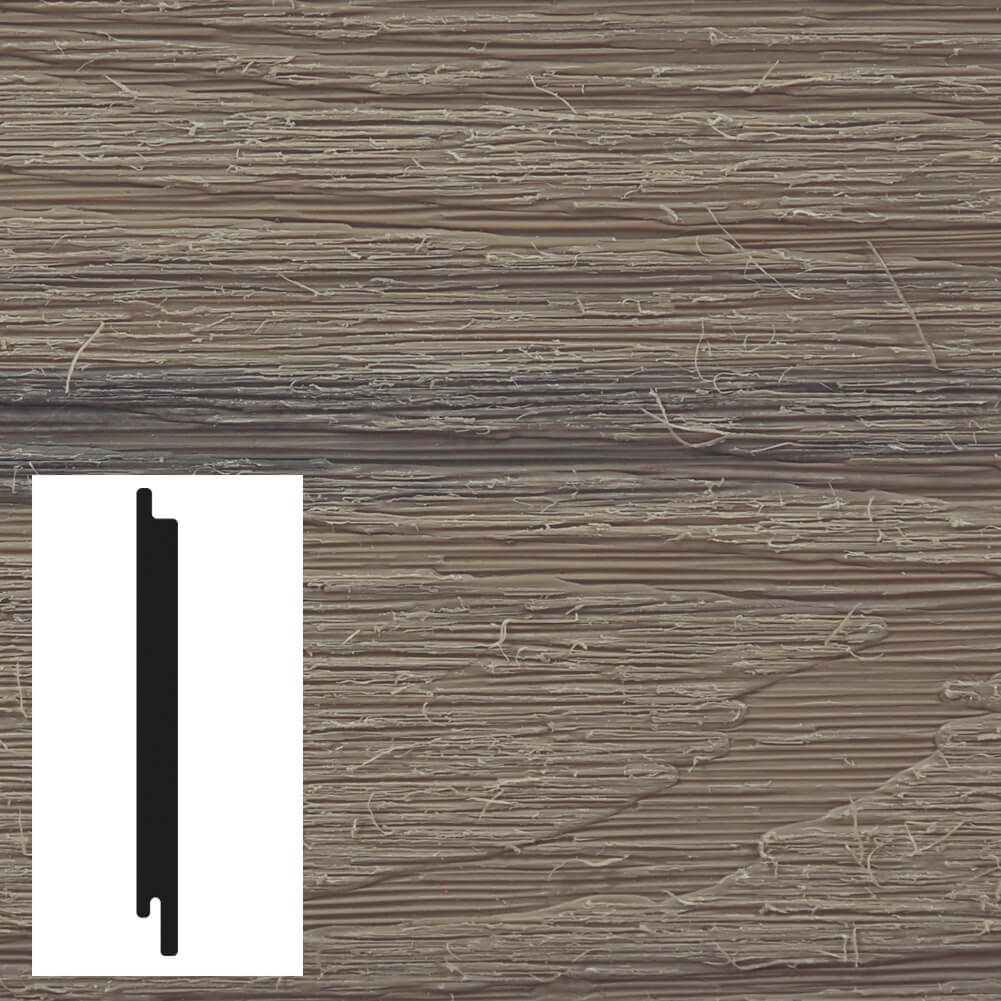
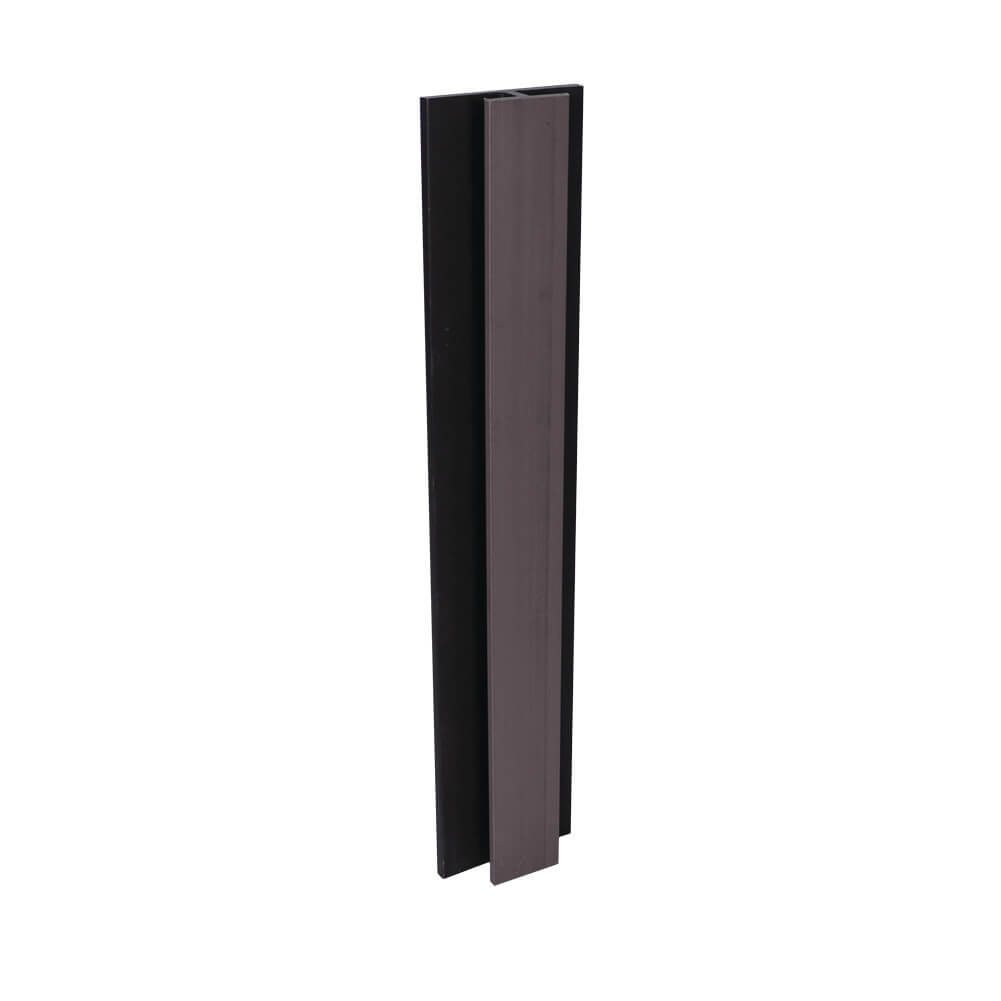
Board (13 x 140 x 2400/3600mm)
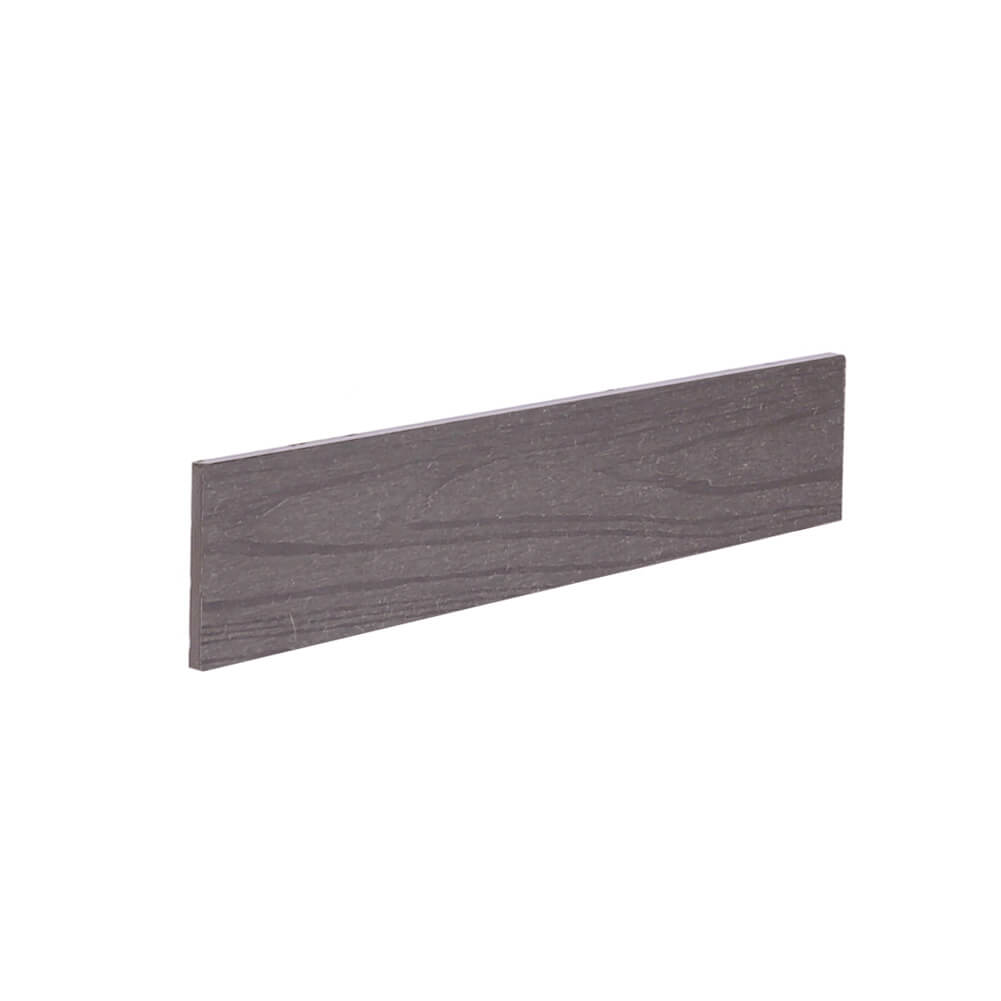
Finishing Board (70 x 10 x 3600mm)
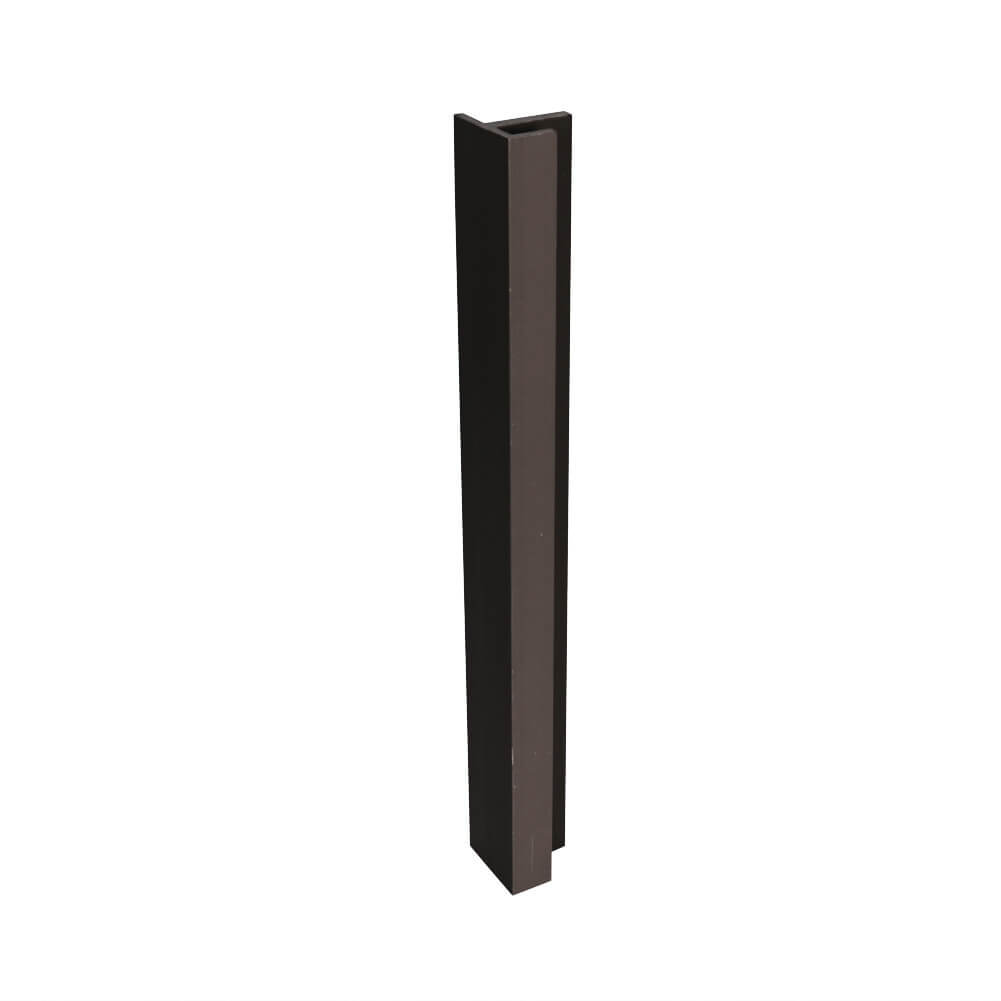
End Trim (47 x 45 x 3600mm)
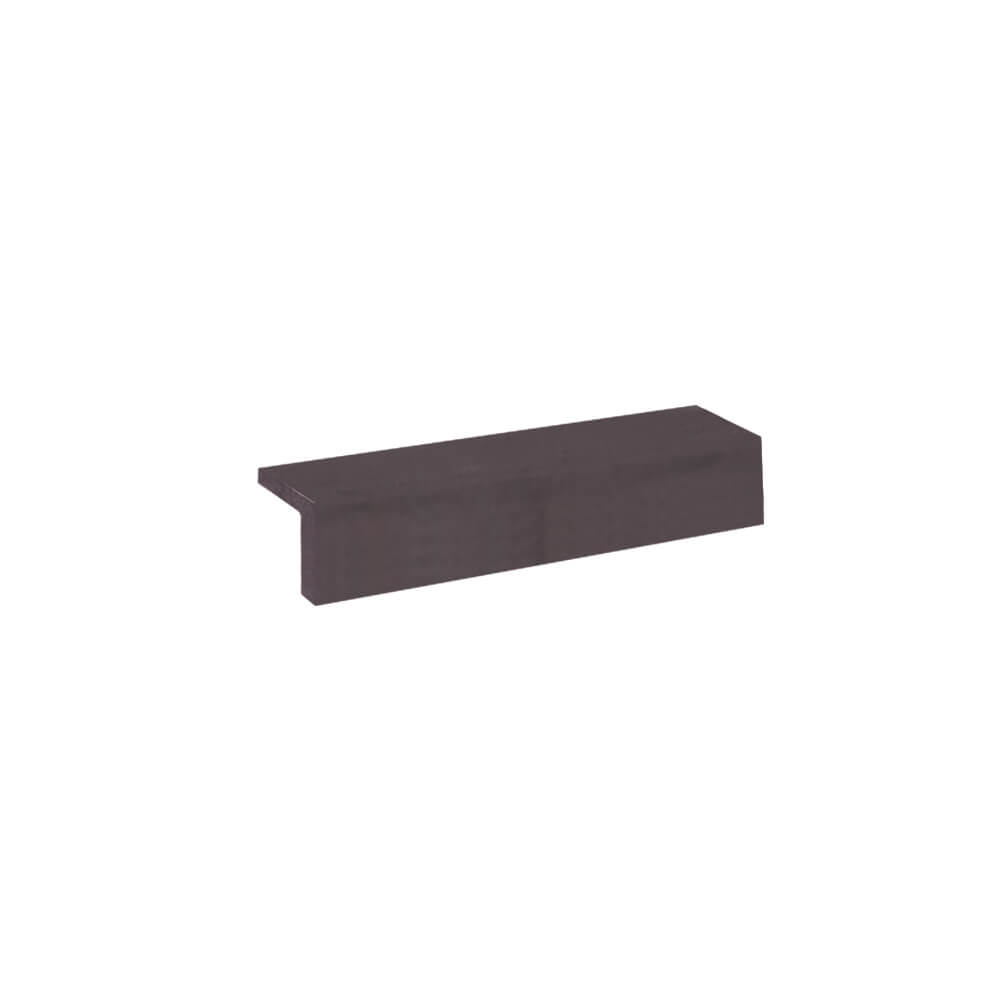
Angle Trim (55 x 55 x 3600mm)
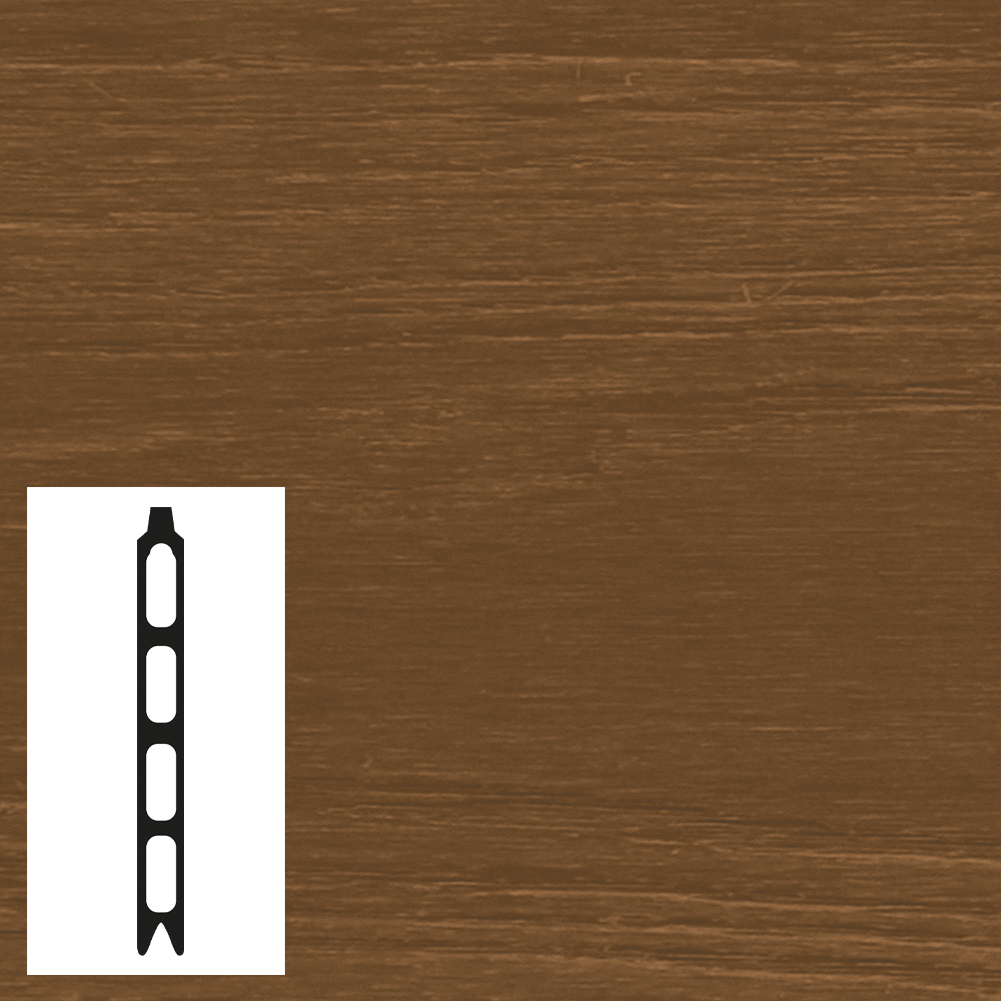
In-Line Joint Trim (79 x 26 x 3600mm)
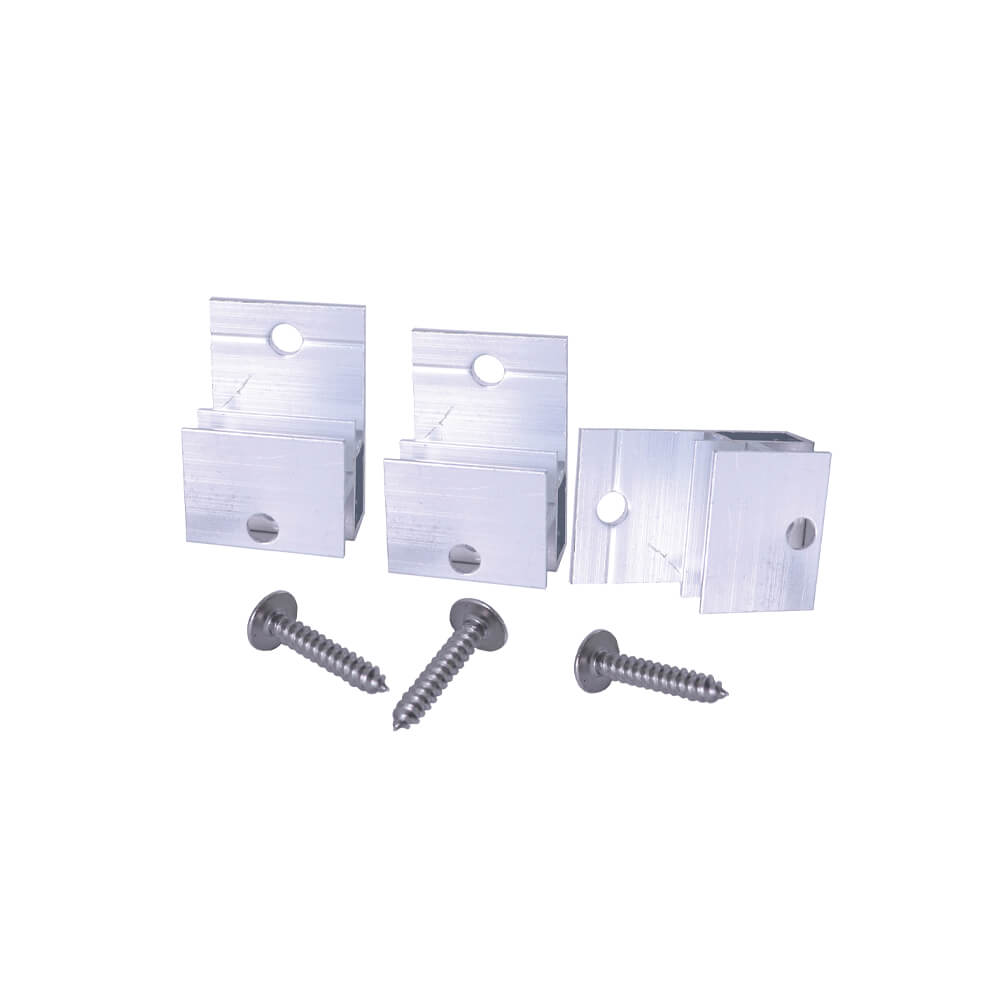
Clips & Screws
Due to the natural expansion and contraction of the composite material with changes in ambient temperature and humidity, please ensure the following gap requirements for all composite cladding products are achieved.
Installation for composite cladding boards
Spacing Boards & Joists:
- Cladding board ends should be installed with a 3mm gap between adjoining boards
- Timber joists should be installed with a 20mm gap between ends
- A 15mm gap should be provided between the lowest cladding board edge and the ground
- A clear cavity of no less than 25mm between the rear face of the cladding and the outer wall/ surface of the structure being clad should be provided to allow sufficient airflow
- Maximun 500mm joist centres
- Extra care is required in order to provide sufficient joisting around windows, fascia’s, soffits, guttering, ventilation points and corners of walls. These locations should be planned and co-ordinated with the cladding system to ensure alignment with the composite fascias and trims. This will allow fixing of the fascia and trims back to the joists
- A double joist arrangement will be required for mid panel joints and at corners to allow the joint trims to be
seated and fixed to both joists
Below is an example of a typical installation and will be used to demostrate the installation of the composite cladding System.